 I've been having food cravings, I will admit it. I have been craving Chili verde. I know the craving will not competely go away, until after I have addressed the situation. And you know what that means: Prep with a goal in mind.
Peppers included in this dish: Anaheim, Yellow, Pasilla, homegrown Jalapeno and Cayenne (all green or yellow except for the cayenne (orange).
All peppers are fresh as opposed to dried pods which will yield a red or brown sauce. Dried pods are used the same way up until the cooking of the strained pulp, at which time a determination for usage will be made (enchilada sauce, chilaquilas, etc.), all which will veer your recipe away from the directions in this Pictorial Journey. In other words you'll be on your own journey in a different direction, but just as wonderful a direction as this one will become.
And here we go~
 Chopped peppers and garlic cloves, saving the seeds only from the hottest of all: Jalapeno and Cayenne. Discarding all seeds and pith from all of the benign (not hot) peppers. Seeds, of course, add to the heat-of-the-matter, and are well worth every single one that you save for the dish.

Big hunk o' pork shoulder with chopped garlic, black pepper and fresh-from-the-garden chopped oregano sprinkled over it.


Coarse chop, adding the hot seeds

water just covers

boil baby boil

after the boil, cooking on low

optional: cool or immerse in a sink of cool water.

**Disclaimer: Use small amounts, hold top on firmly unless you love hot green explosions, that can easily reach the ceiling, walls, and everything in between. I know. Also make sure that the base is securely tightened, otherwise it will unscrew while blending and a bottom-blast will also occur!


straining the green

Spooning to press the pulp

Chicken broth (stock) used to facilitate movement

Stock pan with veggie oil
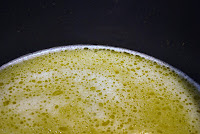
in stock pan goes the green with chicken broth

simmering, reducing.

Tomatillo's....

Loosely chopped with fresh onions

secret spices;

Chopped onions and tomatillos

Cooking and reduction
 Cubed Pork shoulder roast during reduction.

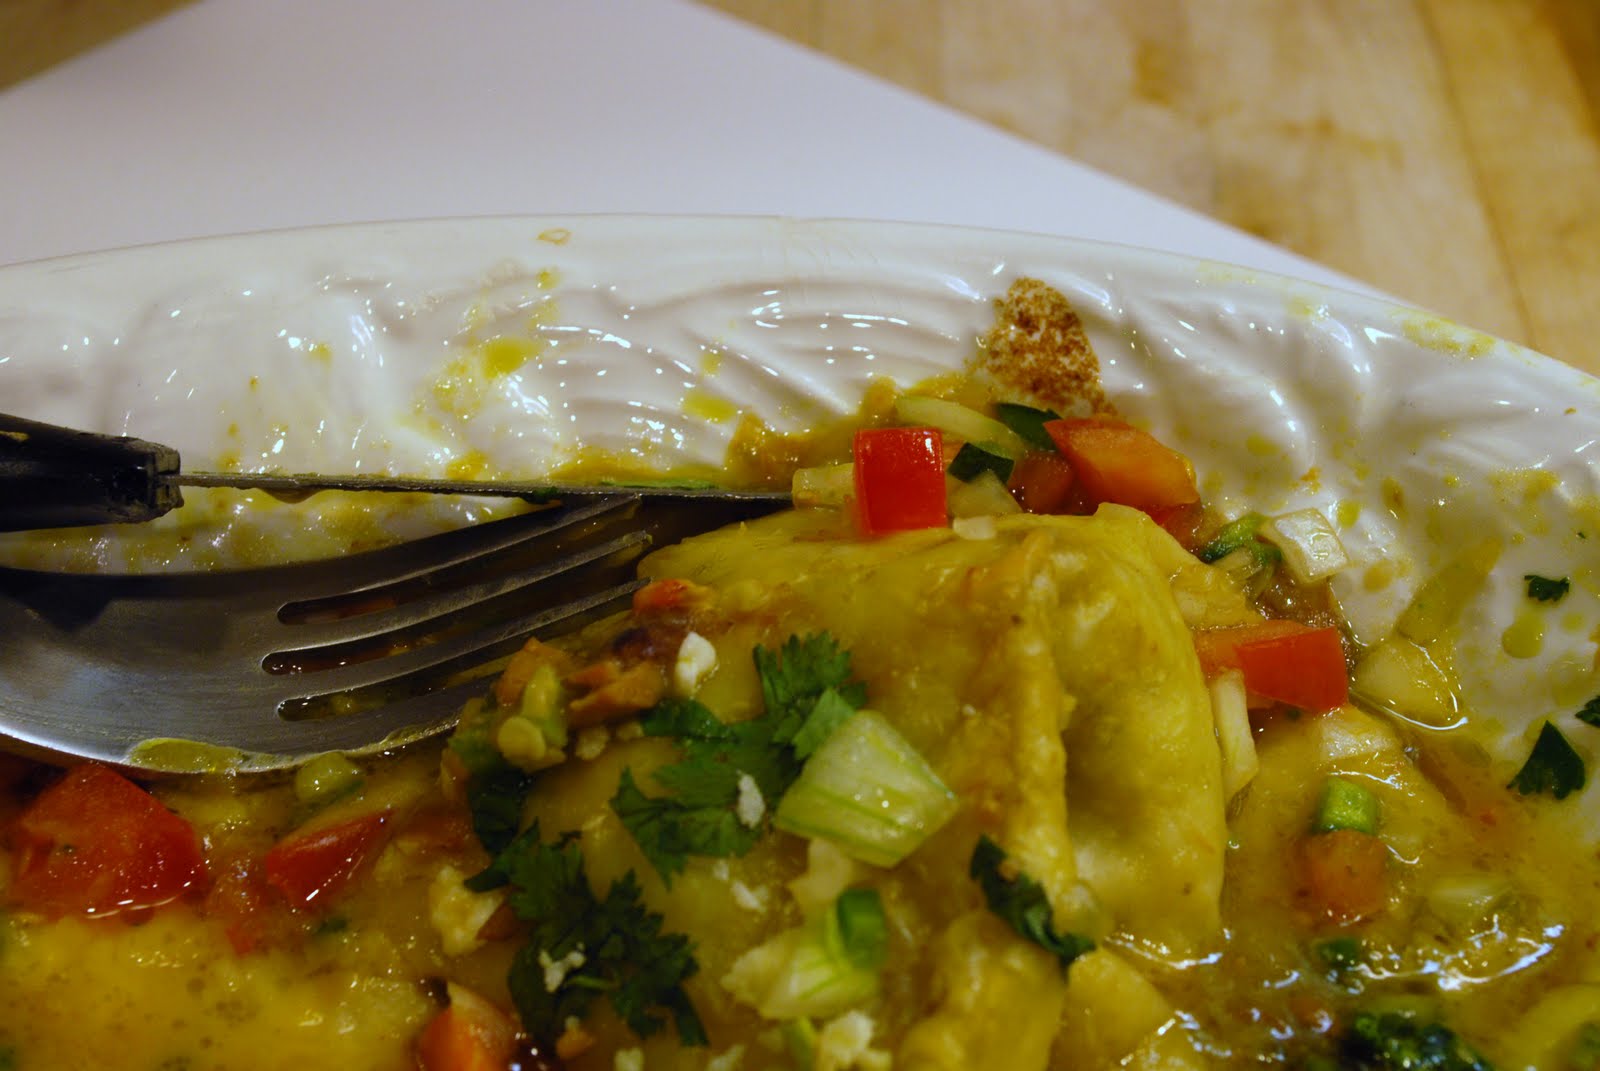
garnish: homemade salsa (secret recipe that only a few know, including the one that taught me her secret family recipe)

After coming out from under the broiler,


OK, now what's for dessert?

And here we go~
 Chopped peppers and garlic cloves, saving the seeds only from the hottest of all: Jalapeno and Cayenne. Discarding all seeds and pith from all of the benign (not hot) peppers. Seeds, of course, add to the heat-of-the-matter, and are well worth every single one that you save for the dish.
Big hunk o' pork shoulder with chopped garlic, black pepper and fresh-from-the-garden chopped oregano sprinkled over it.

Handy huge pork roast feeds us dinner the night before, and when cold gets chopped up into 1"cubes and stored in the frig. Watch out for sneaking family members that like to snag chunks of meat from the gladware container in the middle of the night. Sprinkling the roasted garlic (from the top of the roast) over the top of the cubed meat in the container will teach those poachers a lesson when they open the lid, grab the meat and pop it in their mouth. They can be caught by their scent later. Nibbling the roasted garlic from the top of the roast will also keep others from pestering you all night long.
Peppers and garlic only:
Peppers and garlic only:

Coarse chop, adding the hot seeds

water just covers

boil baby boil

after the boil, cooking on low

optional: cool or immerse in a sink of cool water.
Always knew there was a reason I kept this old thing around. My Osterizer.

**Disclaimer: Use small amounts, hold top on firmly unless you love hot green explosions, that can easily reach the ceiling, walls, and everything in between. I know. Also make sure that the base is securely tightened, otherwise it will unscrew while blending and a bottom-blast will also occur!

Blending on the liquify setting (far right setting or highest, fastest)

straining the green

Spooning to press the pulp

Chicken broth (stock) used to facilitate movement
of the pulp through the strainer, prior to
discarding the skins and remaining slag.

Stock pan with veggie oil
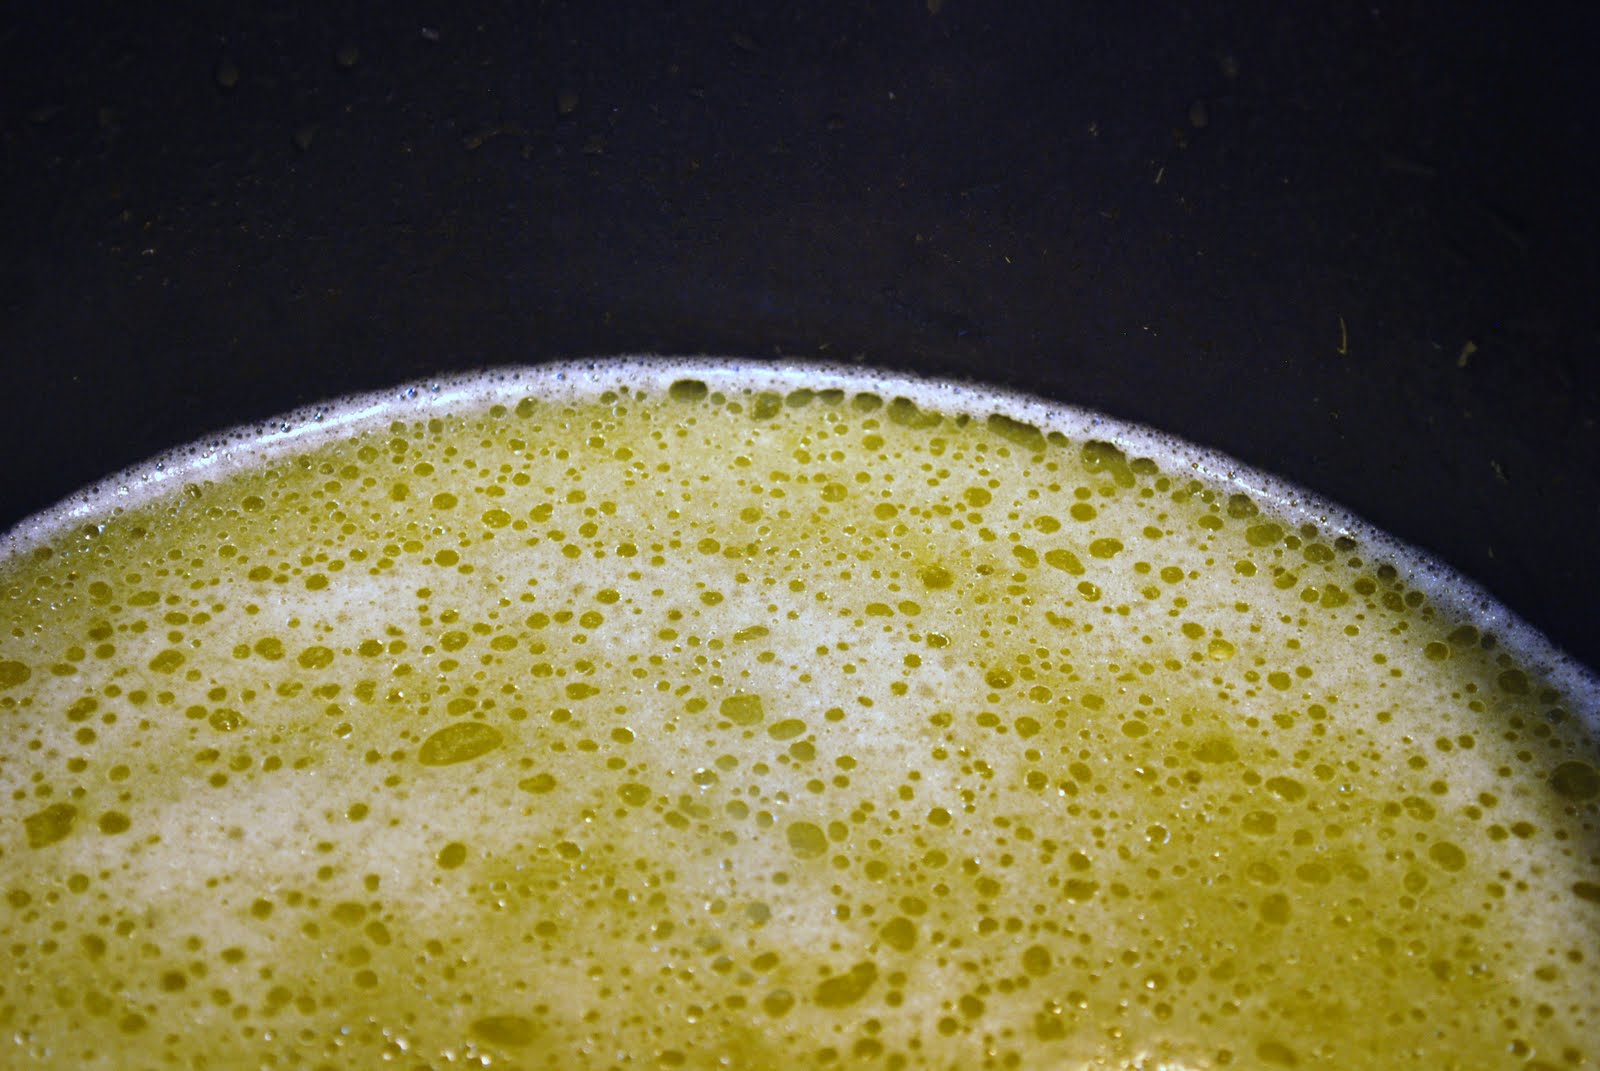
in stock pan goes the green with chicken broth
heat 'er up again.

simmering, reducing.

Tomatillo's....

Loosely chopped with fresh onions

secret spices;
some fresh,
some crushed,
some dried.

Chopped onions and tomatillos

Cooking and reduction
Cubed Pork shoulder roast during reduction.
That's Chili Verde! I love it, no matter how it is served. Open on a plate with steamed tortillas, beans, rice, hominy, salad, and don't forget the chili fresca (salsa), or wrapped it in a flour tortilla, or even create a soft taco with cheese and 2 corn tortillas. No matter which way it is served, it's all good, especially on a cold Winter's night, during the raging storm and served with a carafe of margueritas....
And here's the way I served it first:

garnish: homemade salsa (secret recipe that only a few know, including the one that taught me her secret family recipe)
Frijoles - hand smashed

Burrito innards and a side dish

Burrito innards and a side dish
in addition to rice and golden hominy.
Rolled into a large tortilla with grated asadero, pepperjack,
Rolled into a large tortilla with grated asadero, pepperjack,
cheddar and/or mozarella layering on top~
take your Lipitor tonight....

After coming out from under the broiler,
the final garnish: fresh cut cilantro and crumbled Cotija cheese.
It was thoroughly enjoyed!

afterwards......

OK, now what's for dessert?
flan?
Thank you for accompanying me on my Pictorial Journey Through the Kitchen, with my Illustrated "How ~To" for chili verde
Thank you for accompanying me on my Pictorial Journey Through the Kitchen, with my Illustrated "How ~To" for chili verde
Oh, and did I mention that the above "How-to" should only be viewed as a backbone version of chili verde. What you do with it, how you interpret it, embellish it, link other things to it, and utilize it as a base, a starting; and what aspects of it you gather and move onward with, will be your decision that came from within you.
~*~
I would be greatly appreciative, to hear your rendition.,
as I will be here pushing on the limits and taking this version
as my starting point for next time.
Now I just have to ask:
Where shall we go next? hm?
Oh, I just had an idea, and the color of this text led me there
Next time
we're
going
to see
red!!!!!!
Now that was good....
3 comments:
Looks YUM E! Love your tip about the garlic on the leftover meat to deter or detect poachers!
WOW that looks great! I don't quite understand the order of the process though. You add the tomatillos and chopped onions AFTER a first reduction?
I like having the tomatillo seeds in my verde, but not the old skins and seeds from the chile pods.
After reducing the pods and garlic, I puree and then strain, leaving a really smooth verde. I reheat it adding broth and about a tablespoon of oil, and then I add the chopped tomatillos and onions which gives more 'body' back to the chile verde sauce after they've cooked down.
Now I am hungry and want some...
Post a Comment